 |
Here is the hallway before the remodel
Ok, maybe just a little messy...
Look who we found in the closet after we cleaned it out!!
Time to go to work!
BAM!! Baby!
The first phase is done... We have a bench to sit...
The closest door on the right is our garage, where we come in 99% of the time.
The farthest set of closet doors is our kitchen pantry.
Yes, it's Level!
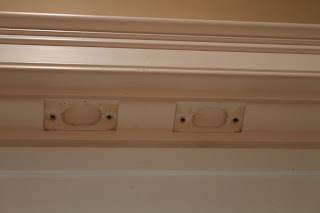
These are the after math of removing the hinges...
You can see the top of the closet had the same issues after we removed the door stops and the hinges
Ok, Now is when Kristen starts with her high attention to detail...
At this point i have already installed the waynes coating as you will see soon...
Oh Yea, look at that belly... So cute, she's all belly!
"Tag team back again..."
Soph is getting busy!
Getting close to the finished product with paint
Finished with the paint
Look at this cushion that Kristen made!
Hats and Scarfs go up top
and shoes and boots go down below!
Finished product with hooks for coats, bags and purses
2 Happy Ladies
So this is the journey from
this...
to this!!!
I hope you enjoyed that... it was actually pretty fun to put it all together!!
Step 1. Build the bench
Step 2. Put up the waynes coating and the border
Step 3. Make sure the hinges are kaulked up and mudded up
Step 4. Kaulk, Prime and Paint
Step 5. Make the cushion
Step 6. Just add hooks
The only thing i have to do at this point is add a light on the ceiling of the closet... they should take 60-90 minutes to add everything. So that's everything!! Kristen loves it and that means i love it as well!!


No comments:
Post a Comment